Patriotic Fingernails
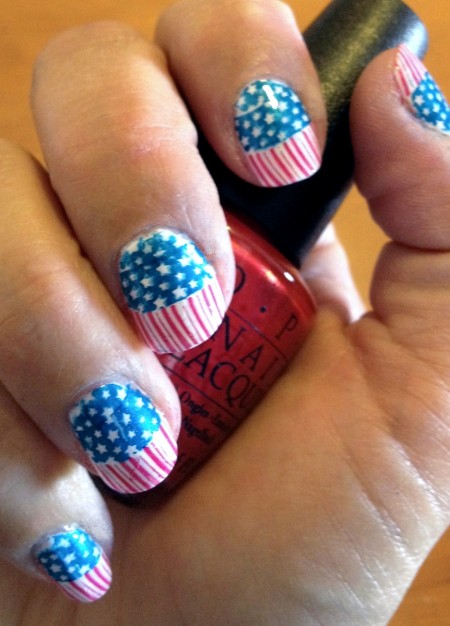
I’m feeling a little excited about my patriotic fingernails I did today, so I wanted to share them with you.
If you’d like to read how I did them, there’s more after the break:
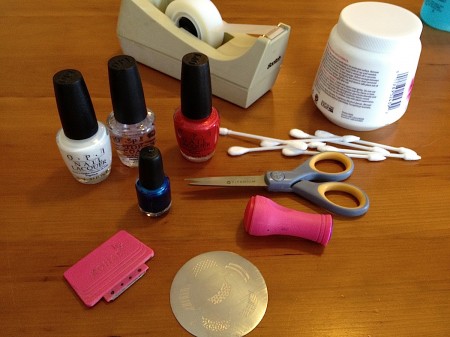
Tools
- Fingernail polish remover
Cotton swabs
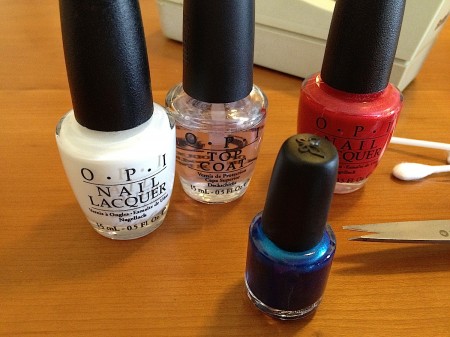
OPI Polish Alpine Snow
- OPI Polish Rock-A-Pulco
- Konad Polish Blue
- OPI Top Coat
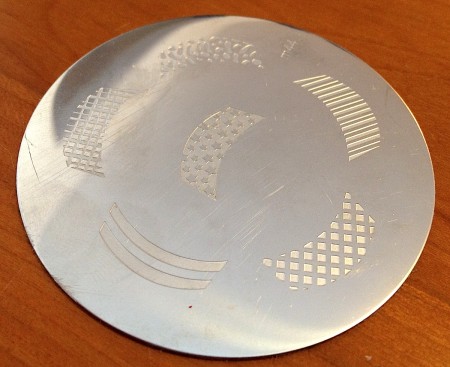
- Konad plate #M44
- Konad stamper
- Konad scraper
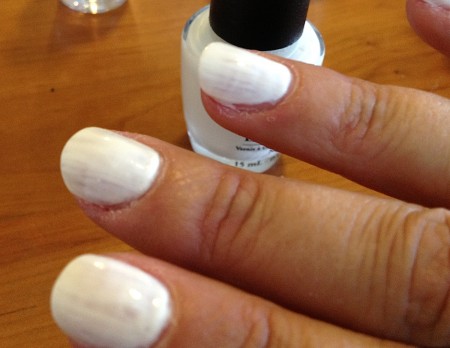
The first thing I did was paint my nails with the Alpine Snow.
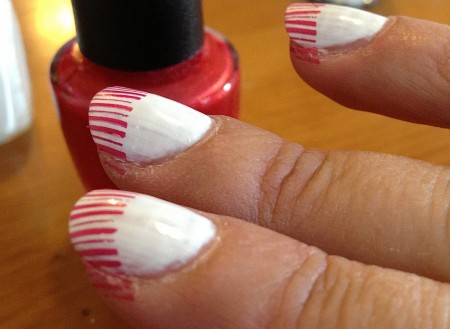
Then I used the Rock-A-Pulco with the stripes pattern to simulate the red and white stripes at the tip. Working with Konad plates is difficult and it really takes practice to get it right. Give yourself time to get the skills before trying to do a manicure on a tight schedule.
Don’t bother cleaning up the extra polish on the fingers. You’ll get it later.
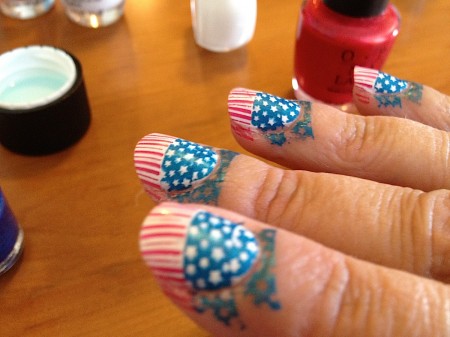
The next step is to add the blue star field. Each of my nails took two passes with the stamper to cover all the nail. Let the first stamp dry before adding the second.
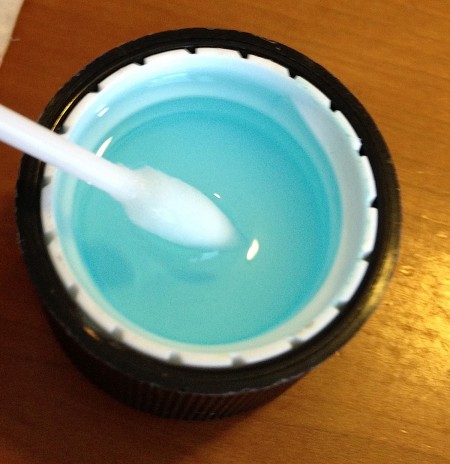
The biggest mistake you can make right now is to panic because your nails look horrible. Don’t do it. Take the cotton swabs, dip them in polish remover and clean up your cuticles. As messy as your nails appear right now, they will look MUCH better when you clean them up.
Once you’ve cleaned them up, add a few coats of top coat and enjoy the Stars and Stripes on your nails.

