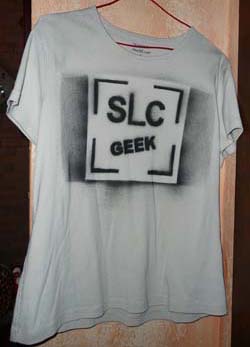
 You are looking at my new SLC Geek t-shirt. I made it using a stencil and spray paint and you can do the same.
Materials:
- An idea
- T-shirt
- Adobe Photoshop
- Cardstock Paper (at least 110 lb. paper)
- Exacto Knife
- Shoebox (or something else to stretch the shirt around)
- Testers Spray Paint
Make A Graphic:
 I created this graphic in Adobe Photoshop. I was trying to make it look like the SLC Punk graphic from the movie. It’s not perfect, but it looks good enough to me. If you’re creative, you can make your own graphic or you can download mine. (If you live anywhere but Salt Lake City, I recommend changing the city name.)
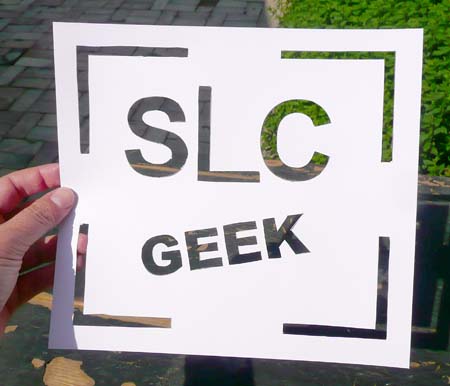
Download the graphic, print it up on card stock and use an Exacto knife to cut out the black bits. Here’s what it looks like once you’ve finished:
Here is a precise tutorial on how to create a stencil using Photoshop:
Spray Your Shirt:
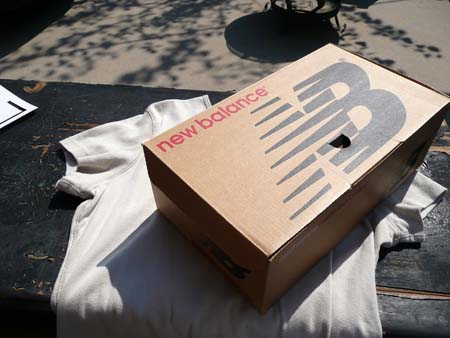
The next step is spraying your shirt using the stencil. You will need to stretch your shirt around something to keep it flat while you’re spraying. I used this shoebox, but you may need something different depending on the size of shirt:
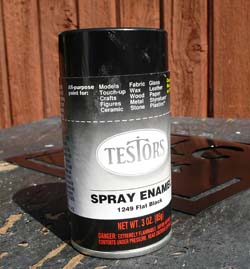 I used Testor’s spray paint because it was something that we already had in the house and the label said it worked on fabric.
One note of caution, we haven’t washed our shirt yet, so we have no idea what it will look like after a few washings. Considering the ink jet transfers are good for only one washing, I think the spray paint will be fair better.
We spray painted outside, but you could do it in your garage just as well. We just don’t like the fumes and we don’t have a garage.
We centered the shoebox in the shirt and placed the stencil on the front.
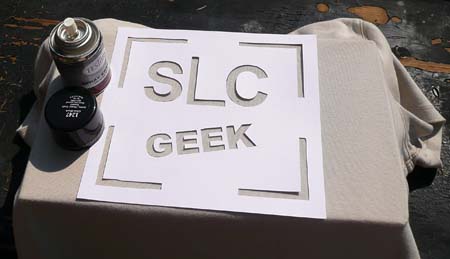
Spraying was fairly easy. Make sure you spray it from one side and then go around and spray it from the other side as well. The image will come out a little clearer this way.
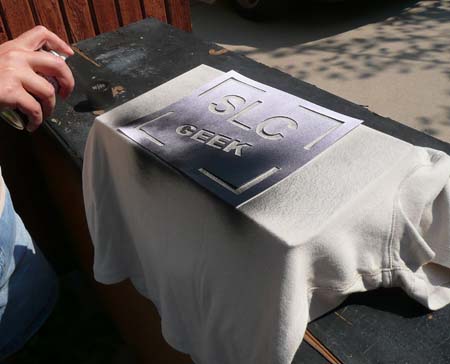
Once you’re sure that you have full coverage, you can remove the stencil and allow the paint to dry for one hour with the shoebox still inside the shirt.
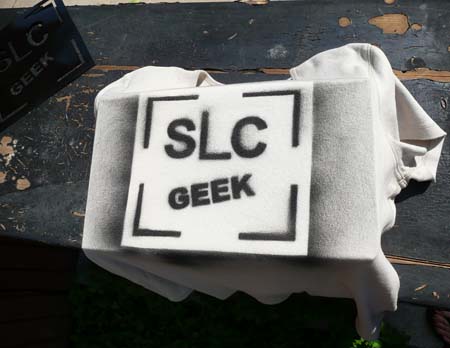
After that, it should be dry to the touch and you can hang up the shirt to dry for three more hours.
Other Ideas:
My shirt has the overspray around the stencil. I like that look and planned for it, but if you want something cleaner, you can attach paper to the edge of your stencil so there is enough coverage to prevent the overspray.
I only used one color of paint, but you can use many, creating a rainbow effect.
This stencil can be used to paint other things, like your walls or posters. I’ve seen people get old records from the thrift store and paint them with their stencils and hang them on their wall. You’re only limited by the law. Don’t paint things that you don’t own.
If you try this project, please leave a link on my comments so I can see all the creative things you are doing!
Update 09-22-07: We have washed this shirt and the Testers paint survives the wash just fine. Make sure you allow 24 hours of drying time before washing and make sure you wash it before you wear it (unless you like smelling like spray paint).


 You are looking at my new SLC Geek t-shirt. I made it using a stencil and spray paint and you can do the same.
 I created this graphic in Adobe Photoshop. I was trying to make it look like the SLC Punk graphic from the movie. It’s not perfect, but it looks good enough to me. If you’re creative, you can make your own graphic or you can download mine. (If you live anywhere but Salt Lake City, I recommend changing the city name.)

 I used Testor’s spray paint because it was something that we already had in the house and the label said it worked on fabric.


